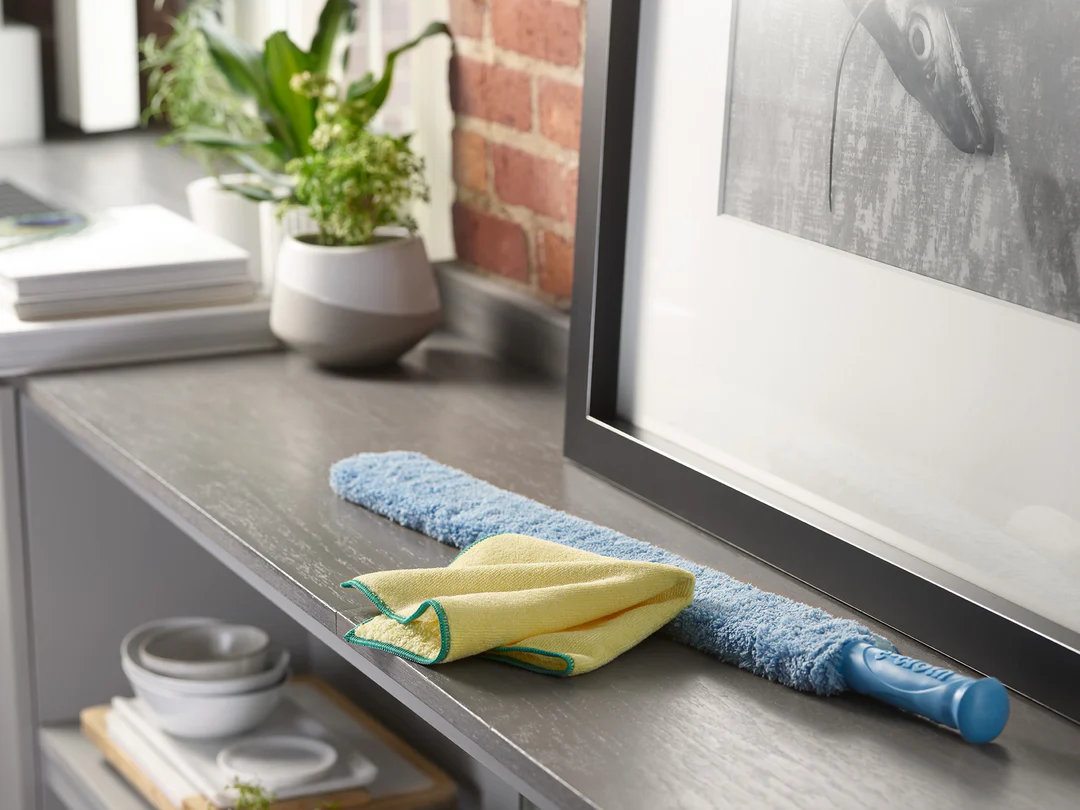
Cleaning Hard-to-Reach Spots

How to Clean Under the Plant Pots on the Windowsill: Step-by-Step

Discover a simple, effective way to clean under plant pots on your windowsill using E-Cloth—no harsh chemicals, just spotless results.

Shop Now

Discover a simple, effective way to clean under plant pots on your windowsill using E-Cloth—no harsh chemicals, just spotless results.

Reviewed by Zac Kieffer

President at E-Cloth

Updated August, 12

A Clean You Can See

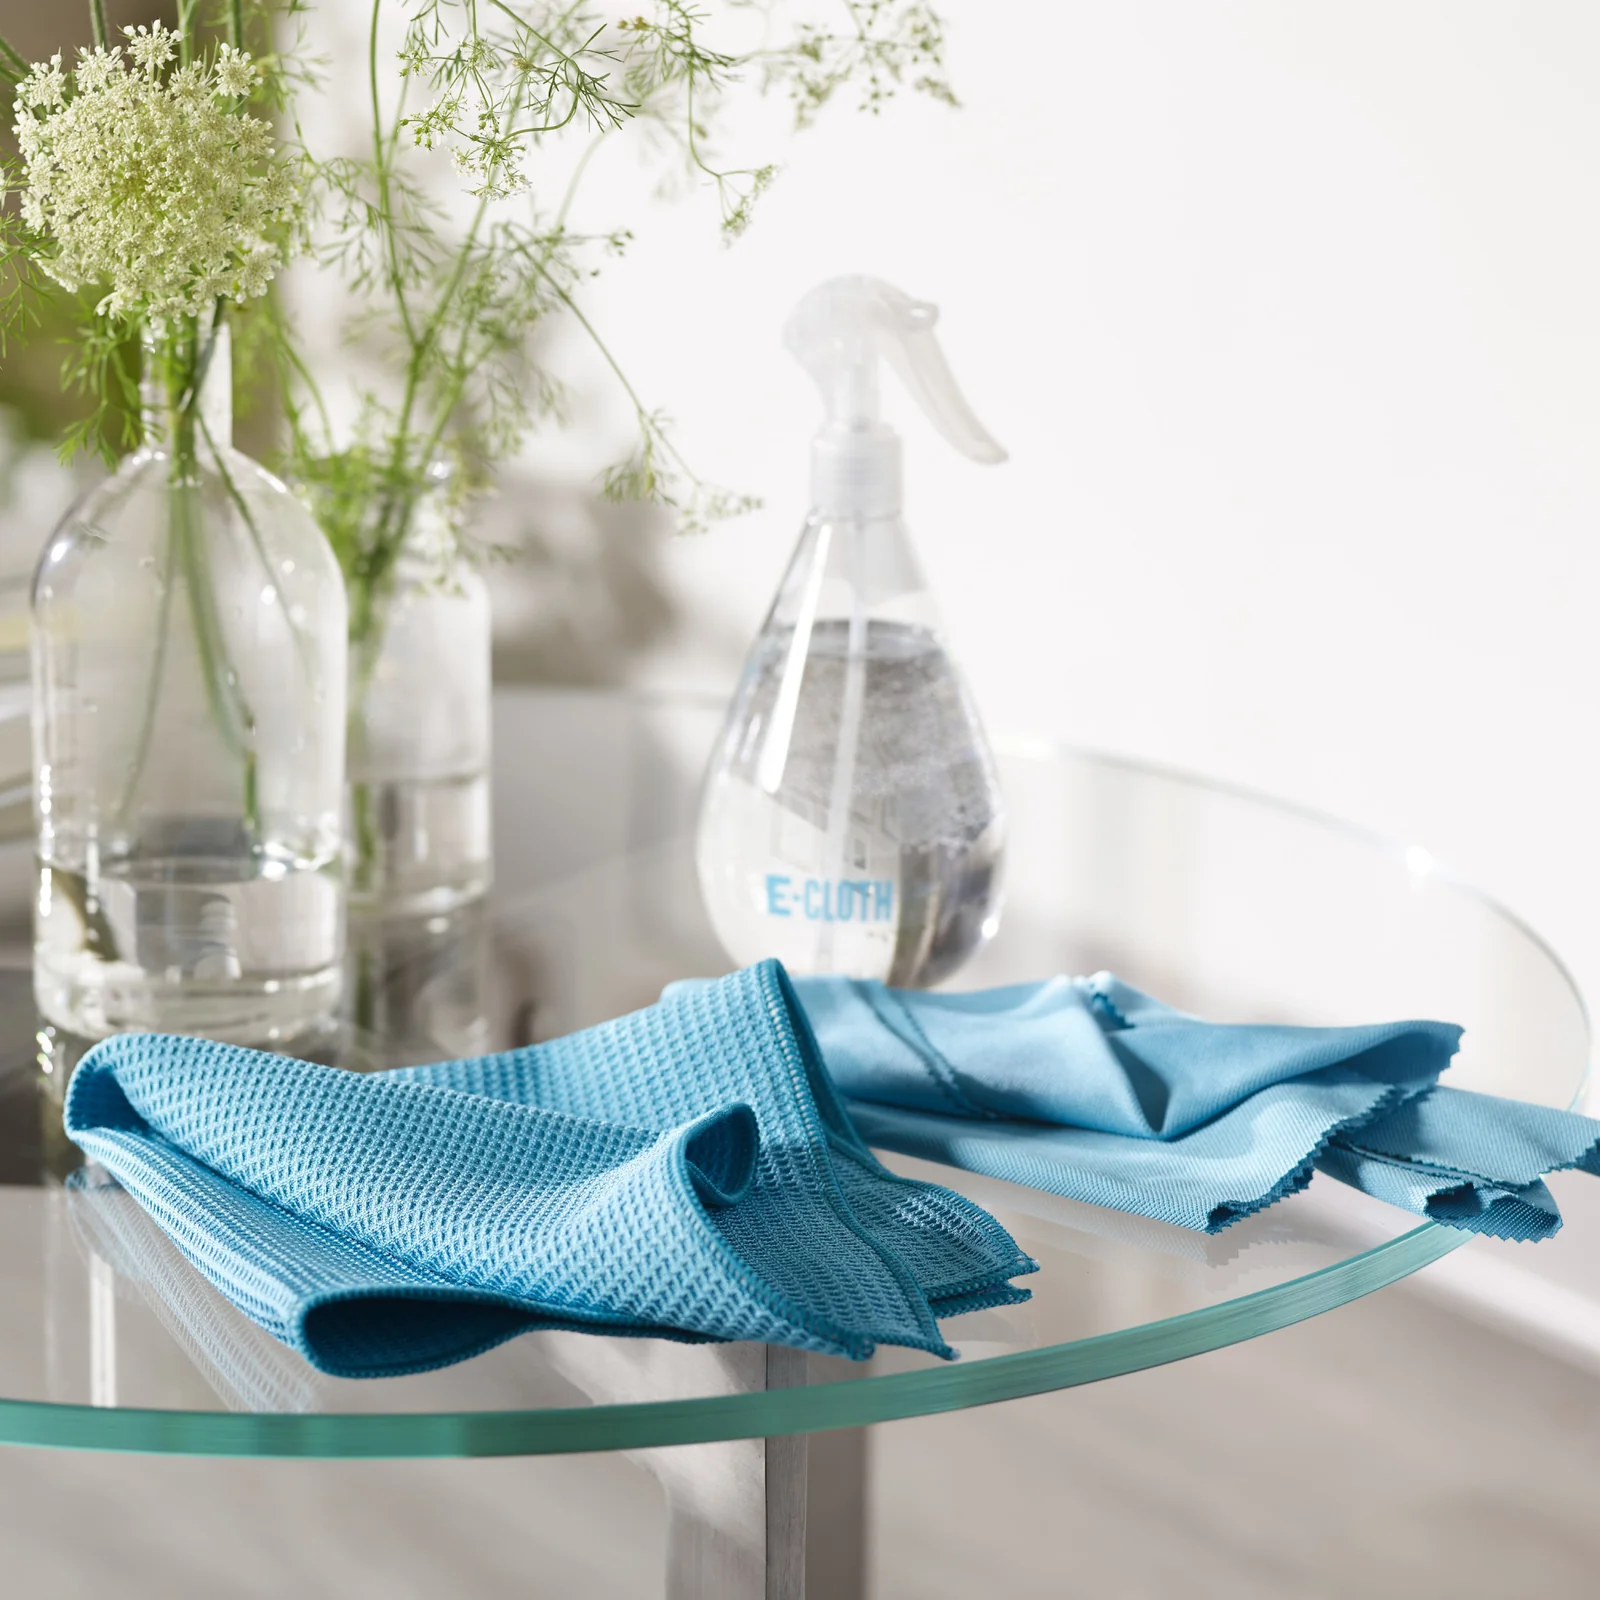
Our high-performance microfiber products simplify cleaning, making it quick, easy, and effective, so you can enjoy visible results without the fuss. No streaks, just results.

How to Clean Under the Plant Pots on the Windowsill: Step-by-Step

- E-Cloth
- Soft duster
- Small hand broom or brush
- Bowl of water
- Mild dish soap


Remove the Plant Pots


  • Gently lift each pot off the windowsill to expose the hidden dust and grime underneath.
  • Place the pots in a safe area so they won’t get mixed up later.


Dust and Sweep Underneath


  • Use a soft duster or your hand to loosen any dust accumulated in the crevices.
  • Sweep off the loosened dust from the windowsill gap carefully.


Wipe Down the Windowsill


  • Take a damp cloth and wipe across the entire windowsill, focusing on the area under the pots.
  • Make sure to remove any sticky or stubborn debris by giving it a few extra gentle rubs.


Return the Plant Pots


  • Once the sill is dry, place your pots back in their original spots.
  • Enjoy a cleaner, brighter window area that makes both your plants and you happy.


Safety Precautions

  • Wear gloves to protect your hands from dirt, mold, or sharp debris.
  • Lift pots carefully to avoid dropping them or straining your back—use both hands and bend your knees if pots are heavy.
  • Check for pests (like insects or mold) under pots before cleaning; address infestations safely.
  • Avoid harsh chemicals—use mild cleaners to prevent damage to plants and surfaces.
  • Ensure the area is dry before returning pots to prevent slips or water damage.
  • Wash hands thoroughly after cleaning, especially before touching your face or plants.

How to Maintain Cleanliness Under the Plant Pots on the Windowsill: Extra Tips

Equip Yourself with the Right Tools

 
  • Keep a microfiber cloth, a small brush, and a dustpan handy to quickly tackle dust and debris.
  • Consider a handheld vacuum with attachments for corners and tight spaces.
  • Stock up on a mild cleaning solution safe for surfaces near your plants.

Establish a Regular Cleaning Routine

 
  • Spend a few minutes every few days wiping down the area beneath your plant pots.
  • Clear out fallen leaves and dust to prevent buildup under the pots.
  • Set a recurring reminder to keep the task from slipping through the cracks.

Use Protective Mats or Trays

 
  • Place a tray or waterproof mat under each pot to catch spills and fallen debris.
  • These accessories make it easier to collect and clean up excess water and soil.
  • They also act as a barrier to protect your windowsill from stains and damage.

Deep Clean and Inspect Periodically

 
  • Every couple of weeks, remove the plant pots and give the windowsill a thorough clean.
  • Inspect the area for persistent dirt or moisture that might lead to mold or mildew.
  • Keep this schedule to ensure a consistently fresh and hygienic environment for both your home and your plants.

Common Mistakes When Cleaning Under the Plant Pots on the Windowsill

Common Mistake 1: Skipping Dusting Before Wet Cleaning


  • Beginning cleaning with a damp cloth without first dusting can turn dry dirt into muddy streaks, making it harder to clean thoroughly.
  • Always start with a dry microfiber cloth or a soft brush to remove loose dust and debris from windowsills before using any wet cleaning methods.

Common Mistake 2: Ignoring Window Tracks and Edges


  • Focusing only on the visible flat areas of the windowsill while neglecting the grooves or tracks allows grime to accumulate and makes windows harder to operate.
  • Use a small brush, cotton swab, or vacuum attachment to reach and clean these overlooked spots for a truly clean sill.

Common Mistake 3: Leaving the Area Cluttered After Cleaning


  • Rearranging or crowding plant pots and other items back onto the sill immediately can trap moisture under them and lead to residue or mold.
  • Let the sill air dry completely and wipe the bases of pots or decorations before putting them back to keep the area tidy and prevent buildup.

An E-Cloth is a simple way to reach and clean under the bed slats effectively.

E-Cloth is committed to delivering a clean you can see—effortlessly erasing messes with just water for a spotless shine, free of streaks and added chemicals.

Read More

How to Clean Behind Wall-Mounted Shelves: Step-by-Step

Easily clean behind wall-mounted shelves with E-Cloth. Discover a simple, effective method for spotless results in those hard-to-reach spots.

How to Clean Behind the Radiator Pipes: Step-by-Step

Easily clean behind radiator pipes with E-Cloth. Discover a simple, effective method for spotless results—no harsh chemicals needed.

How to Clean Behind the Kitchen Faucet Base: Step-by-Step

Easily clean behind your kitchen faucet base with E-Cloth. Simple steps for spotless results—no harsh chemicals needed.

How to Clean Inside Closet Floor Corners: Step-by-Step

Discover simple, effective tips for cleaning inside closet floor corners using E-Cloth—no harsh chemicals, just spotless results every time.

How to Clean Under the Refrigerator Meat Drawer: Step-by-Step

Easily clean under your refrigerator meat drawer with E-Cloth. Simple steps for a spotless, hygienic kitchen—no harsh chemicals needed.

How to Clean Inside Dryer Lint Trap Housing: Step-by-Step

Easily clean your inside dryer lint trap housing with E-Cloth. Simple steps for a thorough, effective clean—no harsh chemicals needed.

Read All

Experience Real Cleaning

A Clean You Can See

E-Cloth Window Cleaning Kit

Blue Liquid Glass Cleaner