Cleaning Hard-to-Reach Spots

How to Clean Inside Dryer Lint Trap Housing: Step-by-Step

Easily clean your inside dryer lint trap housing with E-Cloth. Simple steps for a thorough, effective clean—no harsh chemicals needed.

Shop Now

Easily clean your inside dryer lint trap housing with E-Cloth. Simple steps for a thorough, effective clean—no harsh chemicals needed.

Reviewed by Zac Kieffer

President at E-Cloth

Updated August, 12

A Clean You Can See

Our high-performance microfiber products simplify cleaning, making it quick, easy, and effective, so you can enjoy visible results without the fuss. No streaks, just results.

How to Clean Inside Dryer Lint Trap Housing: Step-by-Step

- E-Cloth
- Vacuum cleaner with hose attachment
- Small brush (such as an old toothbrush)
- Flashlight
- Your hand (for loosening and removing lint)

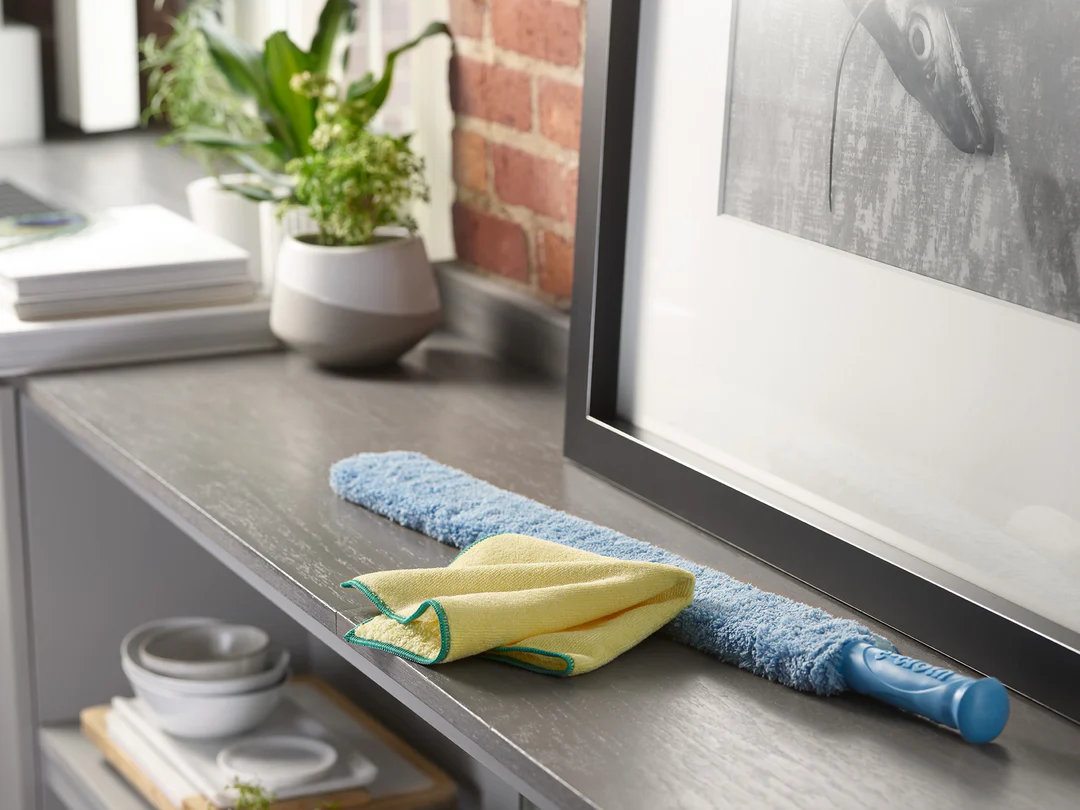
 

Disconnect and Access the Lint Trap Housing

 
  • Unplug your dryer to keep things safe before you start.
  • Open the dryer door and remove the lint trap to expose the housing.
 

Loosen and Remove the Lint Build-Up

 
  • Use your hand to firmly press or roll inside the housing, nudging lint away from crevices.
  • If lint is stubborn, gently run a slightly damp cloth over the interior to help lift it off.
 

Wipe Down and Inspect the Area

 
  • Wipe any remaining lint or dust from the corners and edges to clear airflow.
  • Give the area a quick look-over to ensure it's clean and free of blockages.
 

Reassemble and Power Up

 
  • Slide the lint trap back into place.
  • Plug the dryer back in and enjoy knowing your dryer is set up for a safer, more efficient run.
 

Safety Precautions for Cleaning Inside Dryer Lint Trap Housing

  • Always unplug the dryer before starting to prevent electric shock.
  • Wait for the dryer to cool completely if it was recently used to avoid burns.
  • Wear gloves to protect your hands from sharp edges inside the housing.
  • Avoid using metal tools that could damage the housing or create sparks.
  • Do not use excessive water—a slightly damp cloth is enough; too much moisture can damage electrical components.
  • Ensure the lint trap is completely dry before reinserting it and powering up the dryer.
  • Double-check for leftover lint to prevent fire hazards and maintain airflow.

How to Maintain Cleanliness Inside Dryer Lint Trap Housing: Extra Tips

Regular Cleaning Routine

 
  • Remove lint from the trap after every use to maintain proper airflow.
  • Wipe down the lint trap housing periodically with a damp cloth to remove any dust buildup.
  • Ensure the trap is completely dry before reinserting it to prevent moisture-related issues.

Inspect for Damage

 
  • Regularly check the lint housing for cracks, burn marks, or other signs of wear and tear.
  • If any damage is detected, schedule a repair or replacement to prevent potential hazards.
  • Pay extra attention to the gasket area for signs of deterioration.

Use Brushes and Vacuum

 
  • Utilize a small, soft-bristle brush to loosen lint stuck in corners or crevices.
  • Follow up with a vacuum cleaner to suck up the dislodged particles, ensuring a thorough clean.
  • Avoid using overly abrasive tools that might damage the housing or trap.

Deeper Cleaning Periodically

 
  • Conduct a deep clean every few months by detaching the lint trap and cleaning the surrounding area.
  • Soak removable parts in warm, soapy water to breakdown stubborn residue.
  • Dry all components completely before reassembling to prevent mildew or mold growth.
 

Common Mistakes When Cleaning Inside Dryer Lint Trap Housing

Failing to Unplug the Dryer


  • Cleaning without disconnecting the power increases the risk of accidental shocks or the dryer turning on unexpectedly.
  • Always unplug the unit before you start cleaning to keep safety in check.

Using Harsh or Inappropriate Cleaners


  • Strong chemicals can damage the delicate surfaces of the lint trap housing and leave residue.
  • Stick with a mild detergent and water to avoid deterioration or buildup of harmful residues.

Neglecting Hidden Lint Buildup


  • Focusing only on the lint screen may leave behind lint and debris in the housing area.
  • Take time to carefully inspect and vacuum the interior housing to ensure complete removal of accumulated lint.


An E-Cloth is a simple way to reach and clean under the bed slats effectively.

E-Cloth is committed to delivering a clean you can see—effortlessly erasing messes with just water for a spotless shine, free of streaks and added chemicals.

Read More

How to Clean Behind Wall-Mounted Shelves: Step-by-Step

Easily clean behind wall-mounted shelves with E-Cloth. Discover a simple, effective method for spotless results in those hard-to-reach spots.

How to Clean Behind the Radiator Pipes: Step-by-Step

Easily clean behind radiator pipes with E-Cloth. Discover a simple, effective method for spotless results—no harsh chemicals needed.

How to Clean Behind the Kitchen Faucet Base: Step-by-Step

Easily clean behind your kitchen faucet base with E-Cloth. Simple steps for spotless results—no harsh chemicals needed.

How to Clean Inside Closet Floor Corners: Step-by-Step

Discover simple, effective tips for cleaning inside closet floor corners using E-Cloth—no harsh chemicals, just spotless results every time.

How to Clean Under the Refrigerator Meat Drawer: Step-by-Step

Easily clean under your refrigerator meat drawer with E-Cloth. Simple steps for a spotless, hygienic kitchen—no harsh chemicals needed.

How to Clean Inside Dryer Lint Trap Housing: Step-by-Step

Easily clean your inside dryer lint trap housing with E-Cloth. Simple steps for a thorough, effective clean—no harsh chemicals needed.

Read All

Experience Real Cleaning

A Clean You Can See

E-Cloth Window Cleaning Kit

Blue Liquid Glass Cleaner