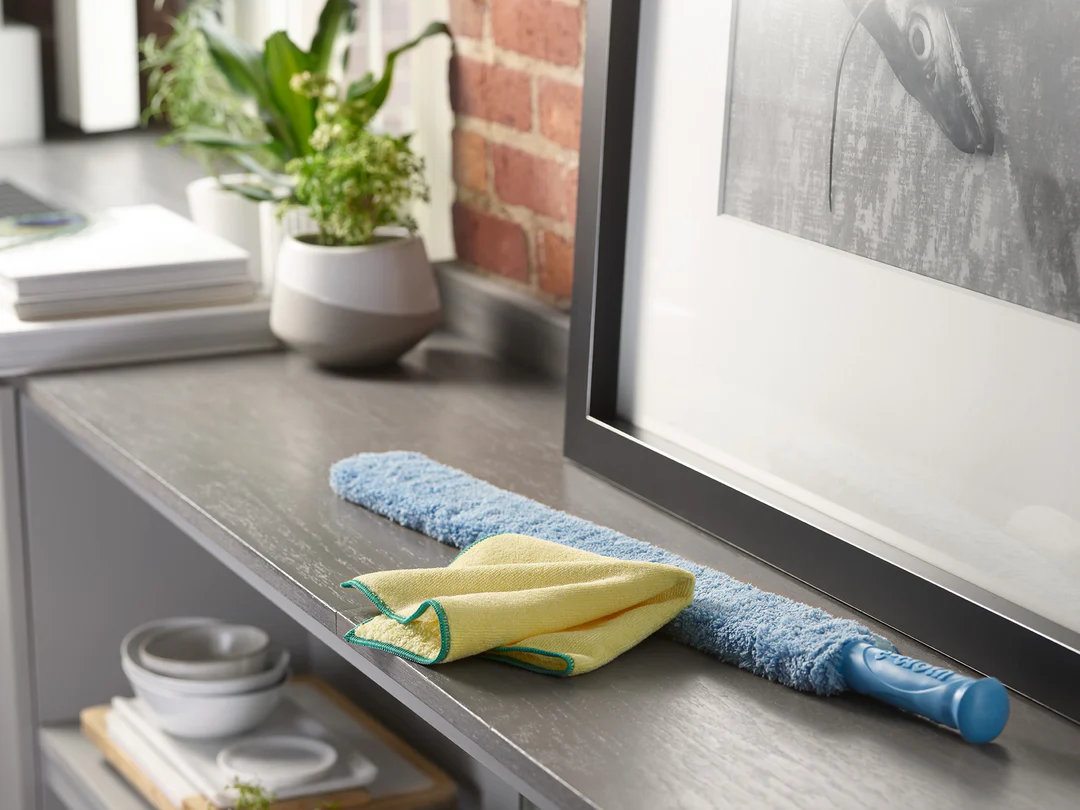
Cleaning Hard-to-Reach Spots

How to Clean Inside Microwave Vents: Step-by-Step

Discover a simple, effective way to clean inside microwave vents using E-Cloth. Achieve spotless results with minimal effort—no harsh chemicals needed.

Shop Now

Discover a simple, effective way to clean inside microwave vents using E-Cloth. Achieve spotless results with minimal effort—no harsh chemicals needed.

Reviewed by Zac Kieffer

President at E-Cloth

Updated August, 12

A Clean You Can See

Our high-performance microfiber products simplify cleaning, making it quick, easy, and effective, so you can enjoy visible results without the fuss. No streaks, just results.

How to Clean Inside Microwave Vents: Step-by-Step

- E-Cloth
- Dish soap
- Small bowl (for mixing soapy water)
- Old toothbrush
- Clean towel


Gather Supplies

 
  • Mix warm water with a few drops of dish soap in a small bowl.
  • Grab a soft cloth or sponge and set aside an old toothbrush for crevices.


Access the Vents

 
  • Pull out the microwave turntable to expose the vent area better.
  • If your microwave’s vents are detachable, gently remove them according to your appliance’s design.


Clean the Vents

 
  • Dampen the cloth or sponge in the soapy water.
  • Thoroughly wipe across the vent grills and inside the vent grooves.
  • For stubborn grease or dirt in tight spots, carefully scrub with the toothbrush.


Rinse and Dry

 
  • Dampen a clean cloth with plain water and remove any soap residue.
  • Dry the vents completely with a clean towel to prevent moisture buildup.


Reassemble and Let It Air Out

 
  • If you removed any parts, carefully reattach them to the microwave.
  • Replace the turntable, close the microwave door, and allow the vents to air dry before next use.
 

Safety Precautions for Cleaning Inside Microwave Vents

  • Unplug the microwave before starting to avoid electric shock.
  • Wait until the microwave is cool to prevent burns.
  • Avoid using excessive water—moisture can damage electrical components.
  • Do not spray cleaners directly into the vents; always apply to a cloth or sponge first.
  • Handle removable parts gently to prevent breakage or misalignment.
  • Wear gloves if you have sensitive skin or are using any cleaning agents.
  • Ensure all parts are completely dry before reassembling and plugging the microwave back in.

How to Maintain Cleanliness Inside Microwave Vents: Extra Tips

Set a Routine Cleaning Schedule

 
  • Establish a simple cleaning routine; clean your microwave vents at least once a month.
  • Mark a recurring date on your calendar so dust and debris don’t sneak up on you.
  • A little regular maintenance goes a long way in preventing deep buildup.
 

Choose the Right Tools and Cleaning Solutions

 
  • Use a microfiber cloth or soft brush for gentle cleaning without scratching surfaces.
  • Opt for warm soapy water to break down grease instead of harsh chemicals.
  • If needed, a vacuum with a brush attachment can help draw away dust from crevices.
 

Vacuum and Dust Vents Frequently

 
  • Vacuum the vent area to remove dust buildup using a gentle brush attachment.
  • Brush away loose debris carefully to keep airflow unblocked.
  • Regular dusting helps maintain the microwave’s efficiency and overall hygiene.
 

Inspect and Maintain Filters (If Applicable)

 
  • Check for any replaceable filters in your microwave vents.
  • If your model features filters, replace them as recommended by the manufacturer.
  • Regular filter maintenance ensures optimum performance and reduces lingering odors.
 

Common Mistakes When Cleaning Inside Microwave Vents

Over-Saturation With Liquids

 
  • Too much liquid can seep into electrical components, causing damage or malfunction.
  • Clean sparingly with a damp cloth to avoid excess moisture buildup.
  • Always allow the vents to dry completely before plugging the microwave back in.

Neglecting to Unplug the Microwave

 
  • Cleaning while the microwave is still plugged in poses a risk of electrical shock.
  • Unplug the appliance to ensure your safety during cleaning.
  • This precaution also helps avoid accidental activation of the appliance.

Using Harsh or Abrasive Cleaners

 
  • Strong chemicals can corrode the metal or plastic parts of the vent.
  • Abrasive scrubbers may scratch and weaken the vent surface.
  • Use gentle cleaning agents and soft cloths for effective yet safe cleaning.

An E-Cloth is a simple way to reach and clean under the bed slats effectively.

E-Cloth is committed to delivering a clean you can see—effortlessly erasing messes with just water for a spotless shine, free of streaks and added chemicals.

Read More

How to Clean Behind Wall-Mounted Shelves: Step-by-Step

Easily clean behind wall-mounted shelves with E-Cloth. Discover a simple, effective method for spotless results in those hard-to-reach spots.

How to Clean Behind the Radiator Pipes: Step-by-Step

Easily clean behind radiator pipes with E-Cloth. Discover a simple, effective method for spotless results—no harsh chemicals needed.

How to Clean Behind the Kitchen Faucet Base: Step-by-Step

Easily clean behind your kitchen faucet base with E-Cloth. Simple steps for spotless results—no harsh chemicals needed.

How to Clean Inside Closet Floor Corners: Step-by-Step

Discover simple, effective tips for cleaning inside closet floor corners using E-Cloth—no harsh chemicals, just spotless results every time.

How to Clean Under the Refrigerator Meat Drawer: Step-by-Step

Easily clean under your refrigerator meat drawer with E-Cloth. Simple steps for a spotless, hygienic kitchen—no harsh chemicals needed.

How to Clean Inside Dryer Lint Trap Housing: Step-by-Step

Easily clean your inside dryer lint trap housing with E-Cloth. Simple steps for a thorough, effective clean—no harsh chemicals needed.

Read All

Experience Real Cleaning

A Clean You Can See

E-Cloth Window Cleaning Kit

Blue Liquid Glass Cleaner