Cleaning Hard-to-Reach Spots

How to Clean Inside Extractor Fan Covers: Step-by-Step

Discover a simple, effective way to clean inside extractor fan covers using E-Cloth. Achieve spotless results with minimal effort.

Shop Now

Discover a simple, effective way to clean inside extractor fan covers using E-Cloth. Achieve spotless results with minimal effort.

Reviewed by Zac Kieffer

President at E-Cloth

Updated August, 12

A Clean You Can See

Our high-performance microfiber products simplify cleaning, making it quick, easy, and effective, so you can enjoy visible results without the fuss. No streaks, just results.

How to Clean Inside Extractor Fan Covers: Step-by-Step

- E-Cloth
- Soft sponge
- Small brush (such as an old toothbrush)
- Basin or large bowl
- Dish soap

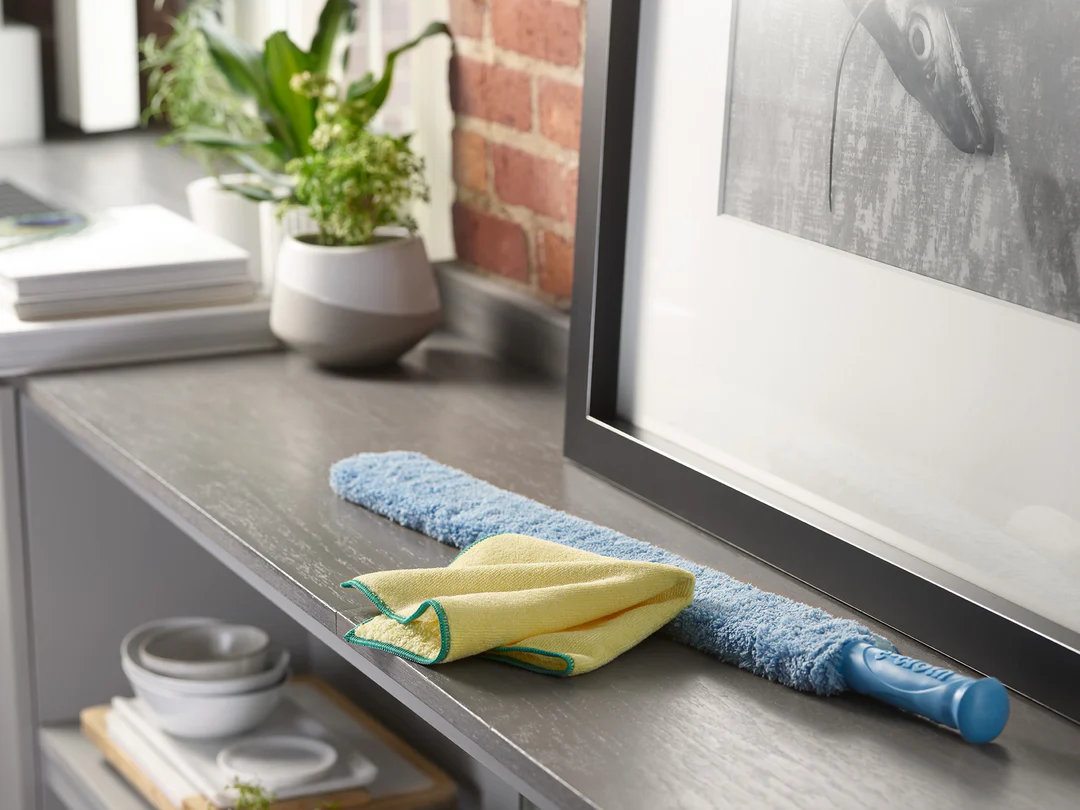
 

Step 1: Safety First & Remove the Cover

 
  • Unplug the extractor fan to ensure no accidental shocks.
  • If the cover is removable, gently take it off according to your fan’s design.
 

Step 2: Soak and Loosen Grease

 
  • Place the cover in a basin of warm soapy water and let it soak for 15–20 minutes.
  • This soaking helps break down the built-up grease and grime.
 

Step 3: Scrub Away the Gunk

 
  • Use a soft sponge or brush to scrub inside the cover, giving extra attention to stubborn spots.
  • Focus on corners and crevices where grease tends to accumulate.
 

Step 4: Rinse and Dry Thoroughly

 
  • Rinse the cover under warm running water until all soap and dirt are washed away.
  • Dry completely with a clean cloth or let it air dry to prevent moisture buildup.
 

Step 5: Reinstall with Confidence

 
  • Once the cover is completely dry, reattach it securely to the extractor fan.
  • Plug in the fan and enjoy a cleaner, more efficient appliance.
 

Safety Precautions for Cleaning Inside Extractor Fan Covers

  • Always unplug the extractor fan before starting any cleaning to avoid electric shock.
  • Wear rubber gloves to protect your hands from harsh cleaning agents and sharp edges.
  • Avoid using abrasive tools (like steel wool) that can damage the cover or fan components.
  • Ensure the cover is completely dry before reinstalling to prevent electrical hazards and mold growth.
  • Do not force or bend the cover when removing or reattaching, as this can cause damage or improper fit.
  • Work in a well-ventilated area to avoid inhaling fumes from cleaning products.

How to Maintain Cleanliness Inside Extractor Fan Covers: Extra Tips

Safety and Preparation

 
  • Unplug your extractor fan or switch off the circuit breaker to keep things safe.
  • Prepare soft cleaning cloths, non-abrasive sponge, and a mild detergent to avoid damaging delicate surfaces.

Regular Dusting Routine

 
  • Dust the fan covers once a week with a soft brush or microfiber cloth to prevent buildup.
  • Use compressed air cautiously to blow away dust from hard-to-reach crevices.

Deep Cleaning the Grime

 
  • Mix warm water with a few drops of mild detergent to create an effective cleaning solution.
  • Soak a cloth in the solution, gently wipe down both sides of the extractor covers, and avoid scrubbing too hard.

Inspection and Maintenance

 
  • After cleaning, inspect for any stubborn grease or grime that may require additional treatment.
  • Schedule a quarterly deep clean and consider replacing filter elements if your model allows for it.

Common Mistakes When Cleaning Inside Extractor Fan Covers

Not Rinsing Thoroughly


  • Cleaning agents left on the fan cover can cause residue buildup or surface damage over time.
  • Residue can accumulate more dust and grease, making future cleaning harder.
  • Always rinse all parts thoroughly with clean water before reassembling the cover.

Improper Drying


  • Reinstalling covers while they are still wet can lead to mold growth and unpleasant odors.
  • Moisture can damage electrical components or attract dust and debris more quickly.
  • Let all parts dry completely, preferably in open air, before putting them back.

Skipping Vent Openings


  • Focusing only on the cover’s exterior misses dust and grease trapped in the vent openings.
  • Clogged vents reduce airflow, decreasing the fan’s efficiency and lifespan.
  • Use a small brush or vacuum to clean between slats and within vent holes for a thorough job.

An E-Cloth is a simple way to reach and clean under the bed slats effectively.

E-Cloth is committed to delivering a clean you can see—effortlessly erasing messes with just water for a spotless shine, free of streaks and added chemicals.

Read More

How to Clean Behind Wall-Mounted Shelves: Step-by-Step

Easily clean behind wall-mounted shelves with E-Cloth. Discover a simple, effective method for spotless results in those hard-to-reach spots.

How to Clean Behind the Radiator Pipes: Step-by-Step

Easily clean behind radiator pipes with E-Cloth. Discover a simple, effective method for spotless results—no harsh chemicals needed.

How to Clean Behind the Kitchen Faucet Base: Step-by-Step

Easily clean behind your kitchen faucet base with E-Cloth. Simple steps for spotless results—no harsh chemicals needed.

How to Clean Inside Closet Floor Corners: Step-by-Step

Discover simple, effective tips for cleaning inside closet floor corners using E-Cloth—no harsh chemicals, just spotless results every time.

How to Clean Under the Refrigerator Meat Drawer: Step-by-Step

Easily clean under your refrigerator meat drawer with E-Cloth. Simple steps for a spotless, hygienic kitchen—no harsh chemicals needed.

How to Clean Inside Dryer Lint Trap Housing: Step-by-Step

Easily clean your inside dryer lint trap housing with E-Cloth. Simple steps for a thorough, effective clean—no harsh chemicals needed.

Read All

Experience Real Cleaning

A Clean You Can See

E-Cloth Window Cleaning Kit

Blue Liquid Glass Cleaner