Cleaning Hard-to-Reach Spots

How to Clean Behind the Dresser: Step-by-Step

Easily clean behind the dresser with E-Cloth. Discover a simple, effective method for spotless results—no harsh chemicals needed.
Shop Now

Easily clean behind the dresser with E-Cloth. Discover a simple, effective method for spotless results—no harsh chemicals needed.

Reviewed by Zac Kieffer

President at E-Cloth

Updated August, 12

A Clean You Can See

Our high-performance microfiber products simplify cleaning, making it quick, easy, and effective, so you can enjoy visible results without the fuss. No streaks, just results.

How to Clean Behind the Dresser: Step-by-Step

- E-Cloth
- Vacuum with hose attachment
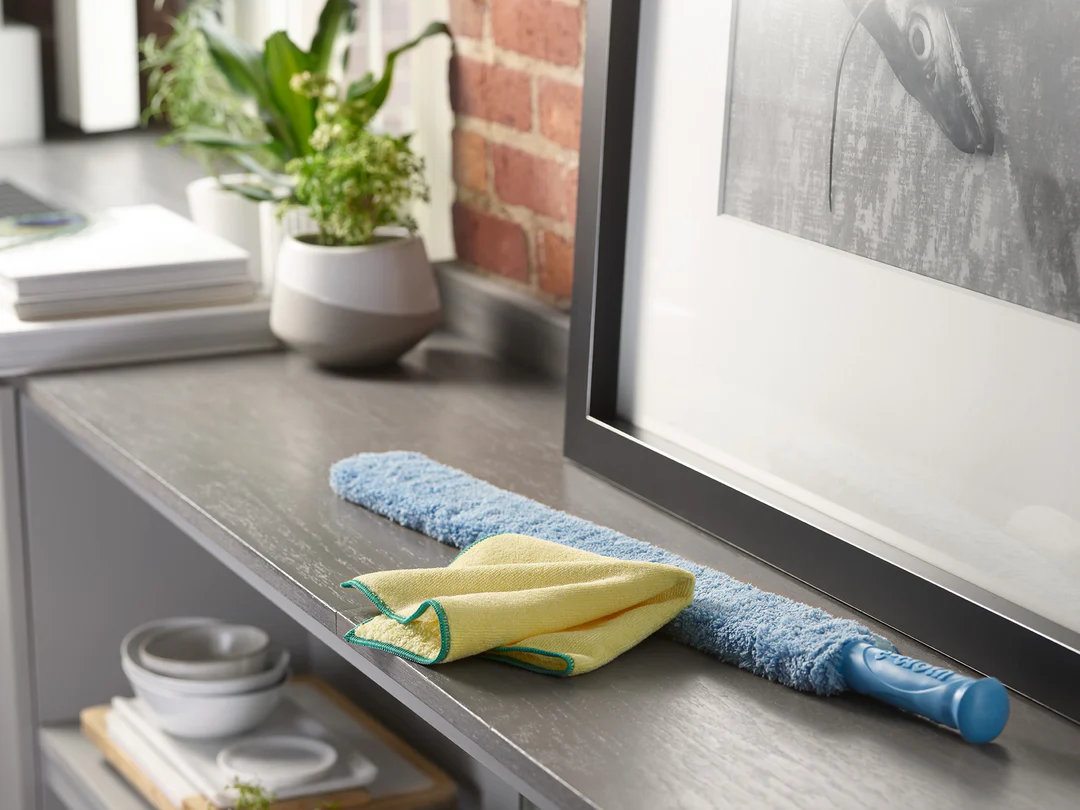
- Duster with extendable handle
- Bucket of soapy water
- Sturdy piece of cardboard (for creating a gap if dresser can’t be moved)

 

Step 1: Clear the Area

 
  • Take everything off the dresser and any nearby surfaces. You can’t clean behind what’s in the way.
  • Move small rugs or mats that are positioned in front or behind the dresser so that you have room to work.
 

Step 2: Move the Dresser (If Possible)

 
  • Carefully pull the dresser away from the wall. If it’s too heavy, ask for help or work slowly to avoid scratches.
  • If the dresser can’t be moved, open drawers and create a gap between the back panel and the wall using a sturdy piece of cardboard or similar aid.
 

Step 3: Dust and Vacuum

 
  • Use a microfiber cloth to dust the wall and the back of the dresser. A duster with an extendable handle works well for hard-to-reach spots.
  • Run a vacuum with a hose attachment along the gap to capture dust, pet hair, and debris. Go slowly to ensure you pick up as much as possible.
 

Step 4: Wipe Down the Area

 
  • After vacuuming, use a damp cloth to wipe away any remaining dust and smudges on the wall and the back panel of the dresser.
  • For stubborn spots, use a bit of soapy water, then immediately wipe with a clean damp cloth to avoid streaks.
 

Step 5: Restore and Arrange

 
  • Move the dresser back to its original spot if it was pulled away, or remove the gap tool and reposition any wall hangings.
  • Replace your items on the dresser and nearby surfaces, enjoying a spot that’s finally accessible and dust-free.
 

Safety Precautions for Cleaning Behind the Dresser

  • Unplug electrical items nearby to avoid tripping or electrical hazards.
  • Lift with your legs, not your back when moving the dresser; get help for heavy furniture to prevent injury.
  • Check for sharp edges or splinters on the back of the dresser and wall—wear gloves if needed.
  • Watch for cords, outlets, or pests behind the dresser before reaching in.
  • Ensure the dresser is stable and won’t tip over while cleaning or moving it.
  • Avoid using excess water to prevent damage to wood or electrical outlets.
  • Keep the area well-lit to spot hazards and clean thoroughly.

How to Maintain Cleanliness Behind the Dresser: Extra Tips

Regular Dusting Routine

 
  • Keep a microfiber cloth or duster handy and plan a weekly dusting session behind the dresser.
  • Use a vacuum with a brush attachment for hard-to-reach corners to prevent dust buildup.

Declutter and Organize

 
  • Periodically sort items stored behind the dresser and remove anything unnecessary.
  • Organize remaining items in labeled boxes or containers to keep the space neat.

Clean Spills Immediately

 
  • Act quickly on any spills or stains to prevent them from setting in behind the dresser.
  • Keep a gentle cleaning spray and microfiber cloth nearby for spot cleaning.

Maintain a Regular Cleaning Schedule

 
  • Set aside time monthly to thoroughly clean behind the dresser, ensuring no hidden dirt accumulates.
  • Incorporate this into your overall home cleaning routine for a consistently fresh space.

Common Mistakes When Cleaning Behind the Dresser

Rushing the Dusting Process


  • Using a quick sweep often just stirs dust around instead of capturing it behind the dresser.
  • Failing to use microfiber cloths or proper vacuum attachments leads to dust buildup in hard-to-reach spots.

Neglecting Hidden Corners and Crevices


  • Often, dust and debris hide in the corners or beneath the dresser legs, and a standard clean won’t reach these areas.
  • Missing these spots can lead to allergen buildup and an overall less clean space.

Using the Wrong Cleaning Products


  • Harsh chemicals can damage the furniture’s finish and may leave a sticky residue, trapping more dust.
  • Not testing a small area first can lead to discoloration or deterioration of the dresser surface.

An E-Cloth is a simple way to reach and clean under the bed slats effectively.

E-Cloth is committed to delivering a clean you can see—effortlessly erasing messes with just water for a spotless shine, free of streaks and added chemicals.

Read More

How to Clean Behind Wall-Mounted Shelves: Step-by-Step

Easily clean behind wall-mounted shelves with E-Cloth. Discover a simple, effective method for spotless results in those hard-to-reach spots.

How to Clean Behind the Radiator Pipes: Step-by-Step

Easily clean behind radiator pipes with E-Cloth. Discover a simple, effective method for spotless results—no harsh chemicals needed.

How to Clean Behind the Kitchen Faucet Base: Step-by-Step

Easily clean behind your kitchen faucet base with E-Cloth. Simple steps for spotless results—no harsh chemicals needed.

How to Clean Inside Closet Floor Corners: Step-by-Step

Discover simple, effective tips for cleaning inside closet floor corners using E-Cloth—no harsh chemicals, just spotless results every time.

How to Clean Under the Refrigerator Meat Drawer: Step-by-Step

Easily clean under your refrigerator meat drawer with E-Cloth. Simple steps for a spotless, hygienic kitchen—no harsh chemicals needed.

How to Clean Inside Dryer Lint Trap Housing: Step-by-Step

Easily clean your inside dryer lint trap housing with E-Cloth. Simple steps for a thorough, effective clean—no harsh chemicals needed.

Read All

Experience Real Cleaning

A Clean You Can See

E-Cloth Window Cleaning Kit

Blue Liquid Glass Cleaner