Cleaning Hard-to-Reach Spots

How to Clean Around Window Sills: Step-by-Step

Discover simple, effective tips for cleaning around window sills using E-Cloth. Achieve spotless results with minimal effort.
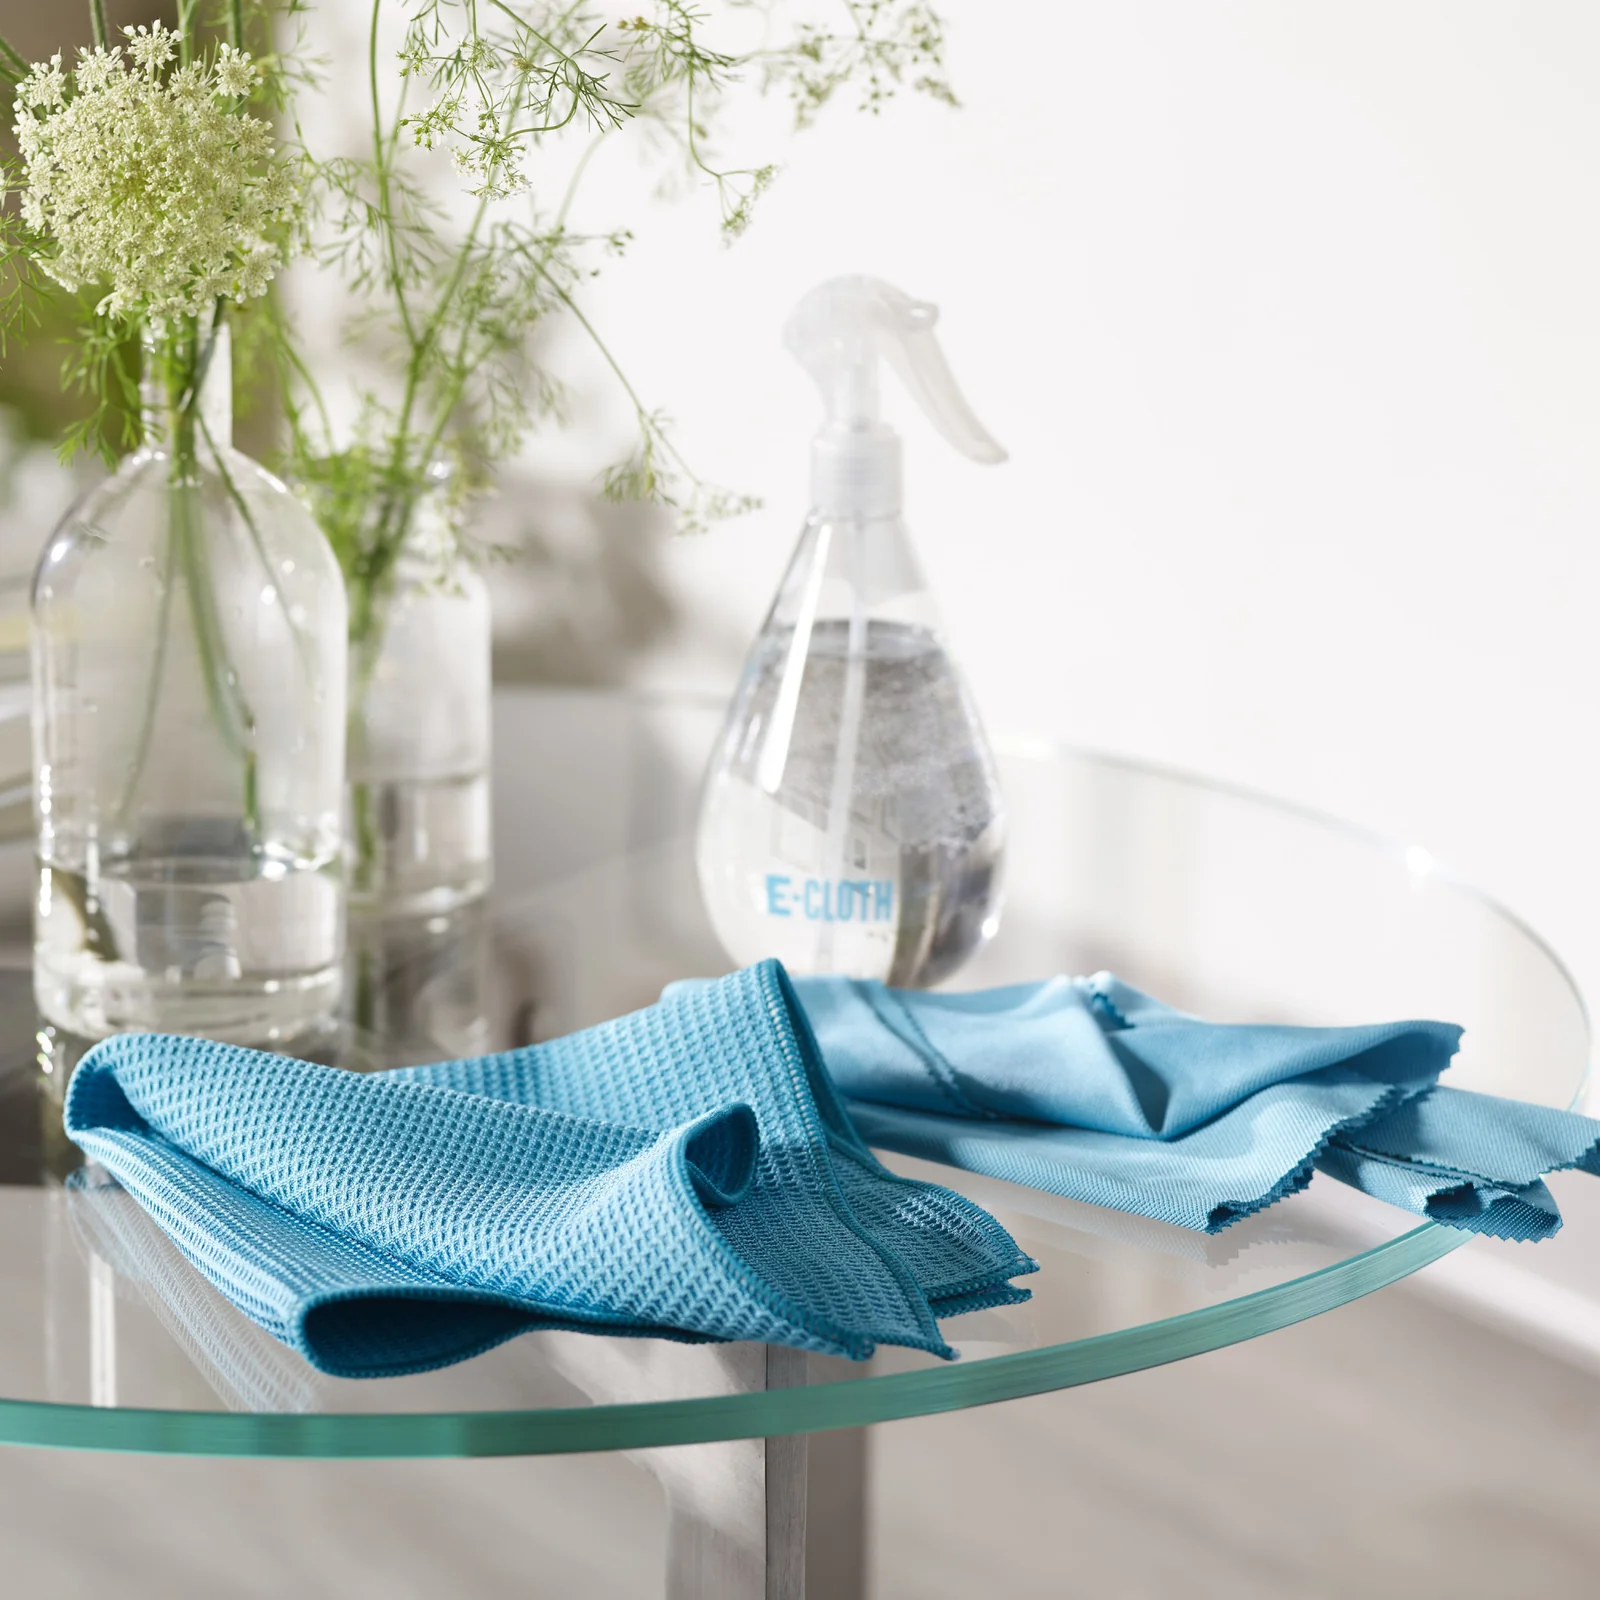
Shop Now

Discover simple, effective tips for cleaning around window sills using E-Cloth. Achieve spotless results with minimal effort.

Reviewed by Zac Kieffer

President at E-Cloth

Updated August, 12

A Clean You Can See

Our high-performance microfiber products simplify cleaning, making it quick, easy, and effective, so you can enjoy visible results without the fuss. No streaks, just results.

How to Clean Around Window Sills: Step-by-Step

- E-Cloth
- Dish soap
- Soft brush (such as an old toothbrush)
- Clean towel
- Vacuum (optional, for corners)

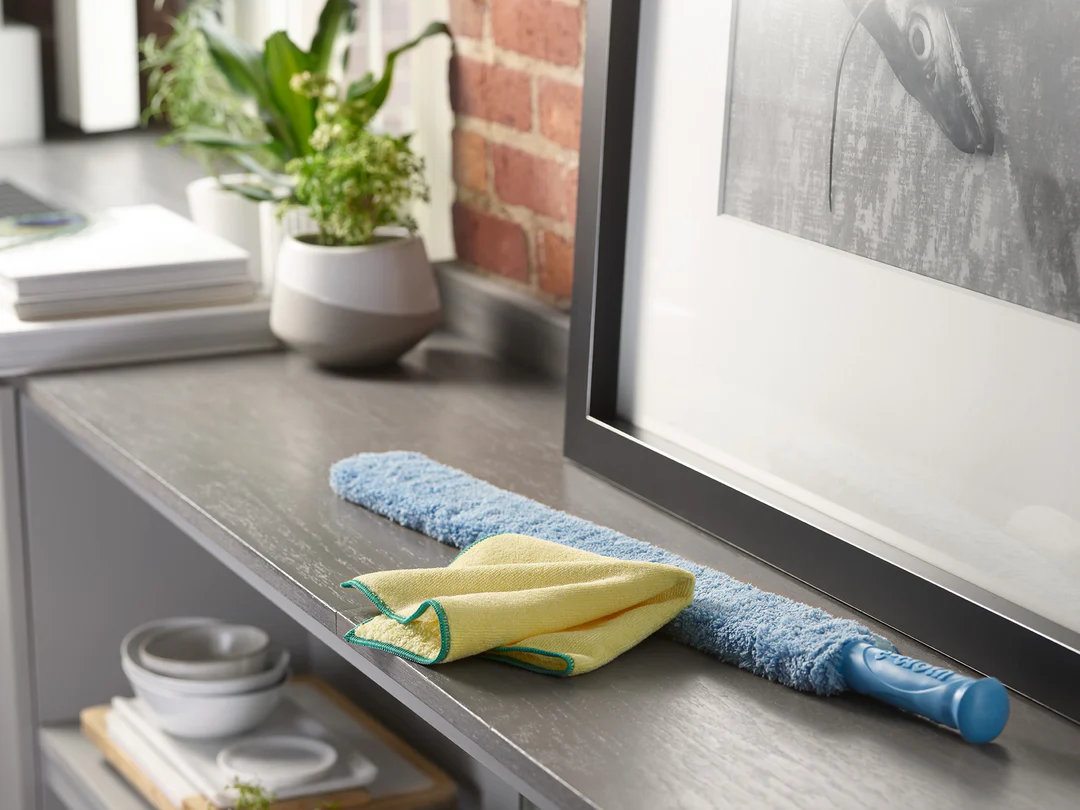
 

Dust Off the Surface


  • Start by using a microfiber cloth or duster to remove loose dust and debris from the sill and its crevices.
  • Check the corners where dust tends to hide—vacuum them lightly if needed.


Wipe Down With Warm Soapy Water


  • Dampen a soft cloth in warm water mixed with a few drops of dish soap.
  • Wipe the entire surface gently, making sure to cover all edges and surfaces.


Tackle Stubborn Stains


  • If you encounter sticky or grimy patches, use a soft brush (like an old toothbrush) to gently scrub those areas.
  • Apply a bit of extra soap on the brush if needed, then rinse with your damp cloth.


Dry and Inspect


  • Finish by thoroughly drying the sill with a clean towel to avoid streaks or water damage.
  • Give it a final look over to ensure all dirt and moisture are completely removed.


Safety Precautions for Cleaning Around Window Sills

  • Wear gloves to protect your hands from dust, cleaning agents, and sharp edges.
  • Open windows carefully to avoid pinched fingers or sudden movement.
  • Avoid standing on unstable surfaces—use a sturdy step stool if needed.
  • Keep cleaning solutions away from electrical outlets and avoid excess water near them.
  • Ventilate the area by opening windows or using a fan, especially if using any cleaning products.
  • Check for mold; if you spot any, wear a mask and use appropriate cleaners.
  • Store cleaning supplies out of reach of children and pets.

How to Maintain Cleanliness Around Window Sills: Extra Tips

Dust Daily for a Spotless Look


  • Tip: Use a microfiber cloth to gently wipe dust off window sills every day, preventing buildup.
  • Tip: Work from the top down to ensure you don’t reintroduce dust on cleaned areas.
  • Tip: Keep a small duster handy for quick touch-ups during the day.


Vacuum the Corners and Crevices


  • Tip: Use a vacuum with a brush attachment to clean stubborn dust in corners.
  • Tip: Run the vacuum slowly over crevices to capture fine debris.
  • Tip: Clean attachments regularly to keep them effective.


Deep Clean with Mild Solutions


  • Tip: Mix warm water with a few drops of dish soap for a gentle cleaning solution.
  • Tip: Use a soft cloth dipped in the solution to wipe down window sills, then dry with a clean towel.
  • Tip: For tougher grime, consider a blend of vinegar and water, but test on a small spot first.


Prevent Spills and Build-Up


  • Tip: Wipe away spills immediately to avoid stains and sticky buildup.
  • Tip: Regularly check and clean the surrounding area to catch any drips or debris.
  • Tip: Place a protective mat or decorative runner near windows to reduce debris accumulation.


Common Mistakes When Cleaning Around Window Sills

Using Abrasive Tools on Delicate Surfaces

 
  • Scrubbing with rough sponges or steel wool can scratch and damage window sills, especially those made of wood or painted materials.
  • Opt for soft cloths or microfiber towels paired with gentle cleaning agents to avoid leaving marks.
  • Avoid abrasive cleaners that might wear down the finish over time.

Neglecting Dust and Dirt Build-up

 
  • Skipping the regular dusting of window sills can allow debris to accumulate, making future cleaning more difficult.
  • Layered dust may also lead to a dull appearance and can affect the overall cleanliness of your room.
  • A quick swipe with a microfiber cloth on a weekly basis can help maintain a cleaner, brighter surface.

Over-Wetting the Surface

 
  • Applying too much liquid can seep into cracks and joints, potentially damaging wood and causing mold.
  • Excess moisture can also lead to streaks, water spots, or sticky residues that attract more dirt.
  • Use a damp cloth for cleaning and follow up with a dry microfiber towel to prevent water damage.

An E-Cloth is a simple way to reach and clean under the bed slats effectively.

E-Cloth is committed to delivering a clean you can see—effortlessly erasing messes with just water for a spotless shine, free of streaks and added chemicals.

Read More

How to Clean Behind Wall-Mounted Shelves: Step-by-Step

Easily clean behind wall-mounted shelves with E-Cloth. Discover a simple, effective method for spotless results in those hard-to-reach spots.

How to Clean Behind the Radiator Pipes: Step-by-Step

Easily clean behind radiator pipes with E-Cloth. Discover a simple, effective method for spotless results—no harsh chemicals needed.

How to Clean Behind the Kitchen Faucet Base: Step-by-Step

Easily clean behind your kitchen faucet base with E-Cloth. Simple steps for spotless results—no harsh chemicals needed.

How to Clean Inside Closet Floor Corners: Step-by-Step

Discover simple, effective tips for cleaning inside closet floor corners using E-Cloth—no harsh chemicals, just spotless results every time.

How to Clean Under the Refrigerator Meat Drawer: Step-by-Step

Easily clean under your refrigerator meat drawer with E-Cloth. Simple steps for a spotless, hygienic kitchen—no harsh chemicals needed.

How to Clean Inside Dryer Lint Trap Housing: Step-by-Step

Easily clean your inside dryer lint trap housing with E-Cloth. Simple steps for a thorough, effective clean—no harsh chemicals needed.

Read All

Experience Real Cleaning

A Clean You Can See

E-Cloth Window Cleaning Kit

Blue Liquid Glass Cleaner