Cleaning Hard-to-Reach Spots

How to Clean Around Thermostat Vents: Step-by-Step

Easily clean around thermostat vents with E-Cloth. Discover a simple, effective method for spotless results—no harsh chemicals needed.

Shop Now

Easily clean around thermostat vents with E-Cloth. Discover a simple, effective method for spotless results—no harsh chemicals needed.

Reviewed by Zac Kieffer

President at E-Cloth

Updated August, 12

A Clean You Can See

Our high-performance microfiber products simplify cleaning, making it quick, easy, and effective, so you can enjoy visible results without the fuss. No streaks, just results.

How to Clean Around Thermostat Vents: Step-by-Step

- E-Cloth
- Vacuum with hose attachment
- Damp cloth
- Mild household cleaner (optional)
- Screwdriver (if vent covers need to be removed)

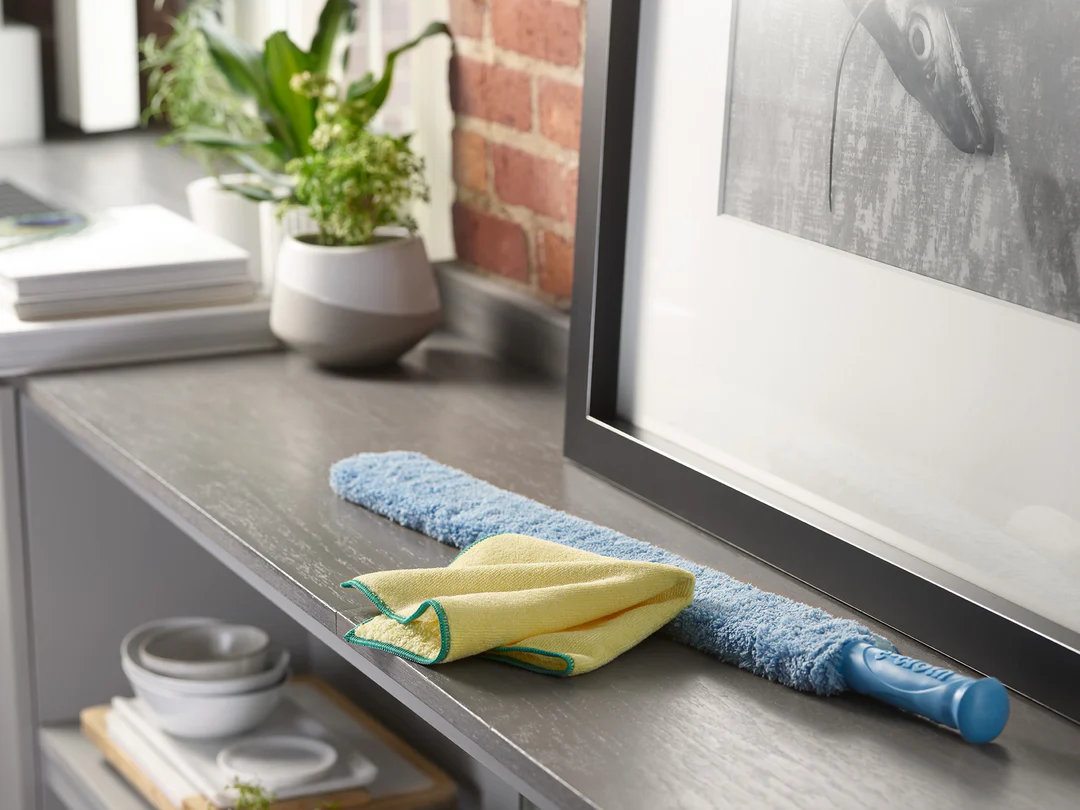
 

Clear the Dust Buildup

 
  • Dust First: Use a dry microfiber cloth to gently wipe away dust from around the vent openings and thermostat edges.
  • Vacuum Away: Run a vacuum’s hose attachment along the base and edges of the vent cover to pull out deeply settled dust.


Clean the Vent Covers

 
  • Carefully Remove: If your vent covers lift off easily, remove them for a more thorough wipe-down.
  • Wipe Down: With a damp cloth (no soaking needed), gently clean the cover and then let it air dry completely before putting it back.


Freshen the Surrounding Area

 
  • Prevent Recurrence: Regularly dust around the thermostat and vent area to keep buildup at bay.
  • Avoid Over-Cleaning: Use moderate moisture to prevent any water from seeping into the electrical parts of the thermostat.


Safety Precautions for Cleaning Around Thermostat Vents

  • Turn Off Power: Always switch off the HVAC system at the thermostat or breaker before cleaning to avoid accidental activation or electrical shock.
  • Avoid Excess Moisture: Never spray water or cleaning solutions directly onto the thermostat or vent; use a lightly dampened cloth only.
  • Protect Electrical Components: Keep all liquids and cleaning tools away from thermostat wiring and internal parts.
  • Use Gentle Tools: Stick to soft microfiber cloths and vacuum attachments to prevent scratching or damaging sensitive surfaces.
  • Let Covers Dry Fully: Ensure vent covers are completely dry before reinstalling to prevent moisture from entering the system.
  • Check for Loose Wires: If you notice any exposed or loose wires, do not touch them—contact a professional for repairs.

How to Maintain Cleanliness Around Thermostat Vents: Extra Tips

Keep Around Vents Clear

 
  • Remove magazines, decorative items, or any clutter near thermostat vents to ensure proper airflow.
  • Regularly check the area for buildup and clear it immediately to maintain efficiency.

Vacuum and Dust Gently

 
  • Use a vacuum with a brush attachment or a soft duster to gently clean around the vents without pushing dust inside.
  • Avoid using high-powered airflow which may cause dust to scatter or get lodged deeper into the vent system.

Inspect Vents Periodically

 
  • Take a close look at the vents every few months for signs of dust or debris buildup.
  • If the vent covers are removable, take them off to give both the covers and the vent interior a thorough cleaning.

Avoid Harsh Chemicals Nearby

 
  • Stick with mild cleaning solutions to prevent damaging the thermostat or vent materials.
  • Harsh chemicals can cause deterioration or discoloration, so always opt for gentle, effective cleaners.

Common Mistakes When Cleaning Around Thermostat Vents

Direct Application of Liquids on Vents

 
  • Avoid spraying cleaning solutions directly on thermostat vents as the excess moisture can seep into the device, potentially damaging internal components.
  • Instead, dampen a soft cloth lightly and gently wipe around the vents to prevent any moisture-related issues.

Neglecting Dust and Debris Build-Up

 
  • Regular dusting is crucial – ignoring the surrounding area can lead to a buildup that clogs the vents and affects thermostat performance.
  • Make sure to vacuum or dust the nearby surfaces, ensuring the vent area remains clean and the airflow is unobstructed.

Using Harsh Tools or Inappropriate Cleaners

 
  • Using abrasive brushes, scrubbers, or harsh chemicals can scratch or degrade the vent covers and thermostat interfaces.
  • Stick with soft microfiber cloths and mild cleaning agents to safely remove grime without damaging delicate components.

An E-Cloth is a simple way to reach and clean under the bed slats effectively.

E-Cloth is committed to delivering a clean you can see—effortlessly erasing messes with just water for a spotless shine, free of streaks and added chemicals.

Read More

How to Clean Behind Wall-Mounted Shelves: Step-by-Step

Easily clean behind wall-mounted shelves with E-Cloth. Discover a simple, effective method for spotless results in those hard-to-reach spots.

How to Clean Behind the Radiator Pipes: Step-by-Step

Easily clean behind radiator pipes with E-Cloth. Discover a simple, effective method for spotless results—no harsh chemicals needed.

How to Clean Behind the Kitchen Faucet Base: Step-by-Step

Easily clean behind your kitchen faucet base with E-Cloth. Simple steps for spotless results—no harsh chemicals needed.

How to Clean Inside Closet Floor Corners: Step-by-Step

Discover simple, effective tips for cleaning inside closet floor corners using E-Cloth—no harsh chemicals, just spotless results every time.

How to Clean Under the Refrigerator Meat Drawer: Step-by-Step

Easily clean under your refrigerator meat drawer with E-Cloth. Simple steps for a spotless, hygienic kitchen—no harsh chemicals needed.

How to Clean Inside Dryer Lint Trap Housing: Step-by-Step

Easily clean your inside dryer lint trap housing with E-Cloth. Simple steps for a thorough, effective clean—no harsh chemicals needed.

Read All

Experience Real Cleaning

A Clean You Can See

E-Cloth Window Cleaning Kit

Blue Liquid Glass Cleaner